Lab 00 - TensorFlow의 설치 및 기본적인 Operation

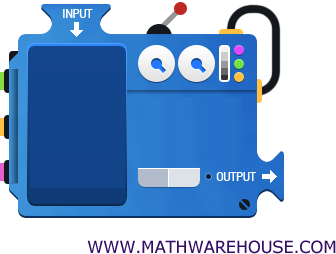
1. TensorFlow
- Open source software library for Numerial computation using data flow graphs.
- Python
2. Data Flow Graph
- Nodes : mathermatical operations
- Edges : multidimensional data arrays (tensors) communicated between them.
3. Check installation and version (1.4)

4. Example
1) Hello world

2) Node Add

3) Placeholder

TensorFlow Mechanics
1. Build graph using TensorFlow operations
2. feed data and run graph (operation) : sess.run(op)
3. update variables in the grap (and return values)
4. Tenor Ranks, Shapes, and Types
1) Rank
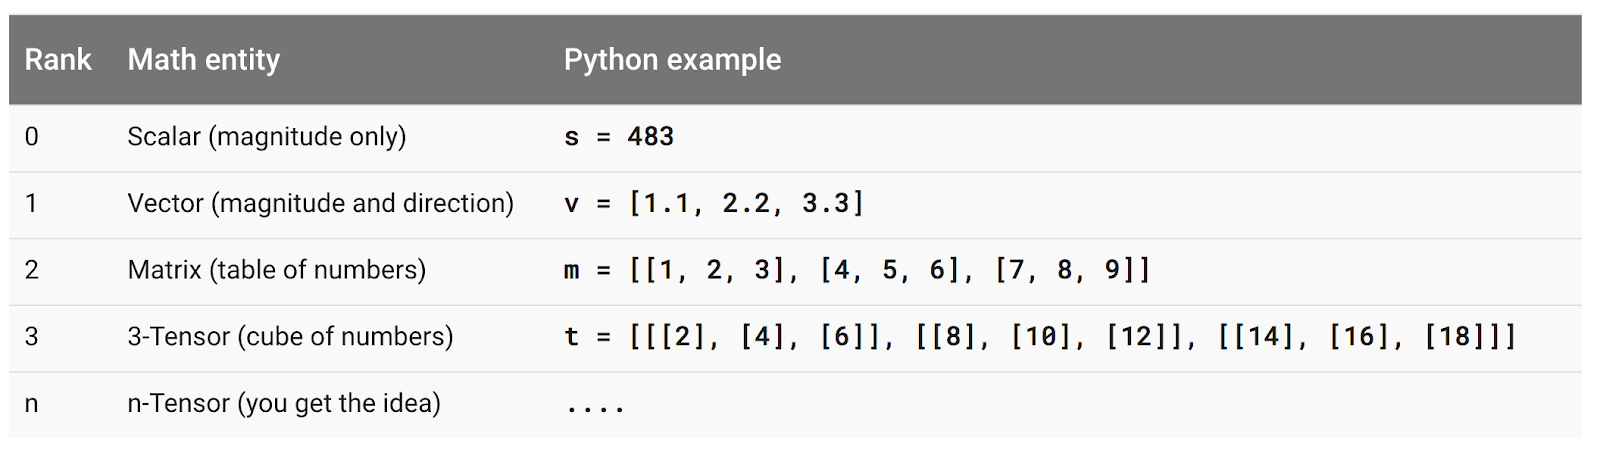
2) Shape

3) Type

Lab 02 - TensorFlow로 구현한 Linear regression
1. Example

2. Linear Regression with Placeholder

Lab 03 - Linear regression : minimize Cost
1. plot cost function

2. Optimized by Hand

3. Optimized by Gradientdecent Function

4. Calculate gradient value

Lab 04 - multi-variable Linear regression
1. Multi-Variable

2. Multi-Variable with matrix

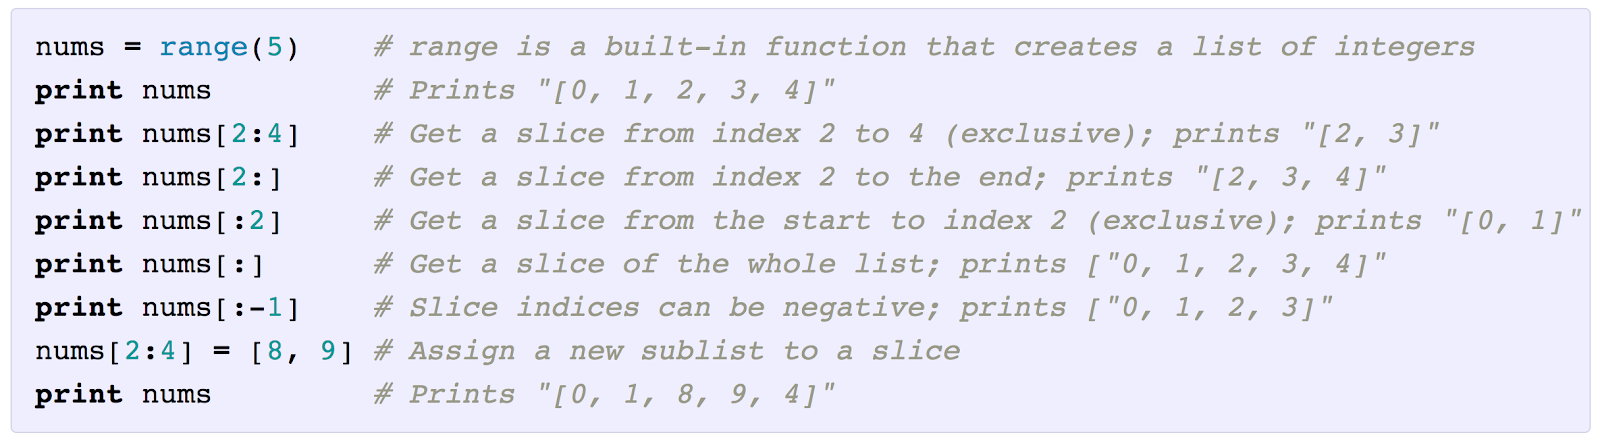
3. Slice Matrix
4. file data

5. Queue Runners


[에러 발생함] 일단 진행
'교육&학습 > Deep Learning' 카테고리의 다른 글
| [학습] 모두를 위한 딥러닝 #5 Lec 07-1, 07-2, Lab 07-01, 07-02 (0) | 2017.12.10 |
|---|---|
| [학습] 모두를 위한 딥러닝 #4 Lec 06-1, 06-2, Lab 06-01, 06-02 (0) | 2017.12.09 |
| [학습] 모두를 위한 딥러닝 #3 Lec 05-1, 05-2, Lab 05 (0) | 2017.12.07 |
| [학습] 모두를 위한 딥러닝 #1 (Lec 00 ~ Lec 04) (0) | 2017.11.30 |
| 0. 개발 환경 설정하기 ( 아나콘다, CUDA, TensorFlow GPU 버전) (0) | 2017.11.27 |


